
How to easily create vertical clips on Twitch
As we’ve already mentioned here, advertising is essential to growing your channel, whether it’s live streaming or scripted videos. And with the rise of TikTok, Instagram Stories and YouTube Shorts, vertical videos have become the most popular format on social media today.
With that in mind, Twitch has updated its clip editing tool to include the vertical format, and creating clips in this format using the Amazon platform can be done quickly and easily.
Index
Clip Editing on Twitch
Creating and editing short clips to publicize your live streams channel has always been present on Twitch and now, the vertical format has been included in the platform’s editing options, aiming to adapt to the most popular social networks of today.
Just like its horizontal version, creating vertical clips on Twitch is also quite simple and fast.
Step by step
To start creating and editing your own vertical clips, you need to be logged into Twitch and have a clip already created on your channel. On the platform, go to Creator Dashboard, then Content > Clips.
With the clip selected, click Edit & Share Clip to enter Clip Edit mode.
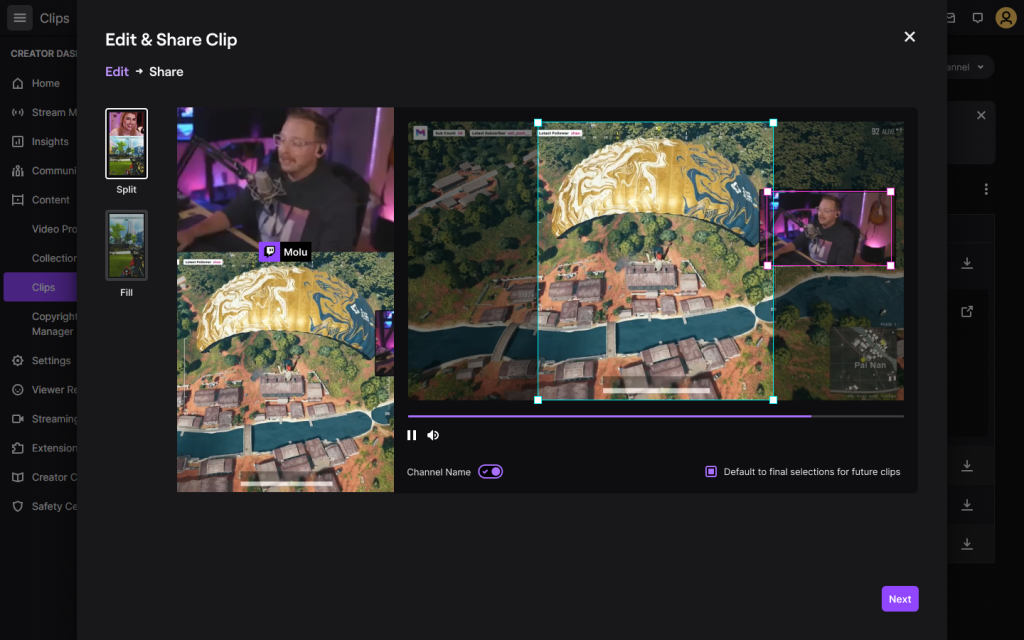
1. Choose the format
At the first moment of clip editing, choose the video format. In addition to the traditional horizontal format, showing the entire live screen, Twitch also offers other formats, such as:
Multiple cameras, for a Guest Star broadcast
camera and gameplay
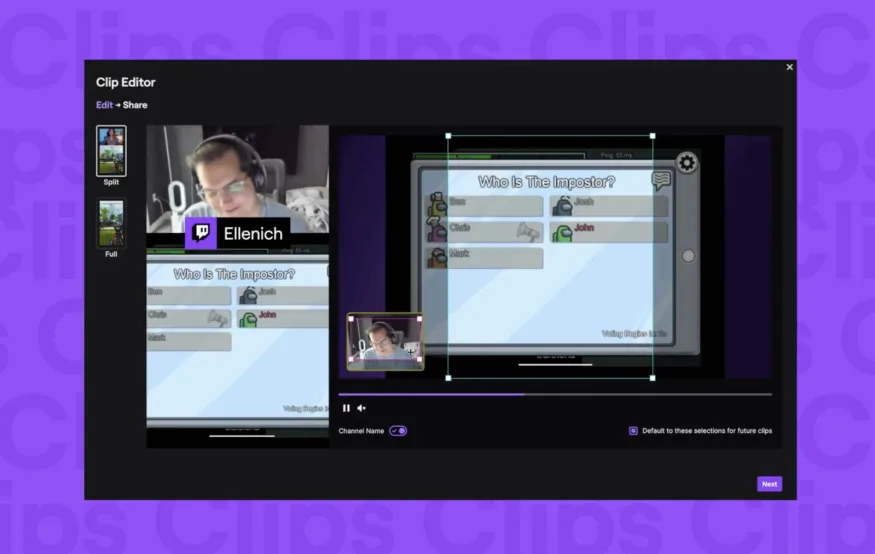
2. Select frames
With the clip editing tool, you can then select the frames that will be displayed in the new video. In a very simple and intuitive way, just adjust the area using the control points of the edit rectangles.
There are two distinct rectangles: one for the gameplay area and another for the camera area.
By default, Twitch turns on the option to keep the same area selection for the entire clip, making editing easier and faster. If the streamer wants to, he can disable this option to show other areas in different frames of the video.
3. Add channel name
To make the video look even more professional, the streamer can easily add their Twitch channel name.
In the video, the channel name will be on the line that divides the gameplay frames with the streamer’s camera frames.
By default, this option is automatically enabled, but it can be turned off if the streamer wants to.
Share the new clip on social media
With the three vertical clip editing steps completed, now it’s time to share it on social media. For this, the streamer has two options, straight from the Twitch clip editing platform.
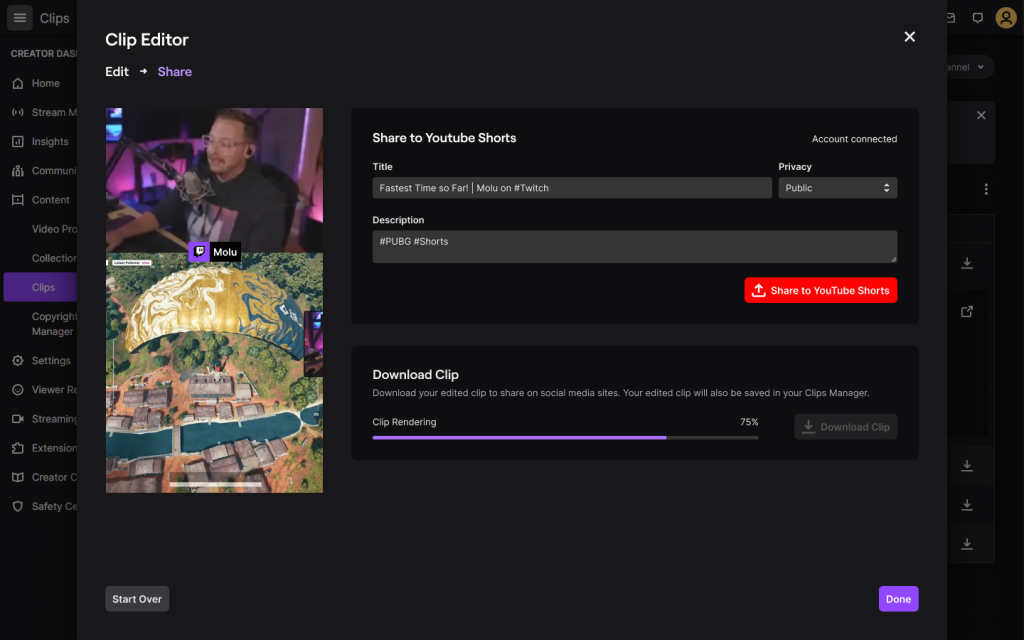
YouTube Shorts
The streamer can quickly and automatically share the new vertical clip to YouTube Shorts, directly after editing is complete on Twitch. For this, it is enough that the streamer’s YouTube is connected to Twitch.
The title and description of YouTube Shorts are pre-populated for better visibility of the post on the Google video platform. The text can be edited as the streamer prefers.
Other social networks
To publish the vertical clip on other social networks such as Instagram Stories or TikTok, the streamer also has the option to download the video after editing is complete.
After the video is fully rendered, the download option will be available to the streamer.
Please note that clip editing on Twitch is only available for clips on your own channel, even those created by other users.
Subscribe
Login
0 Comments
Oldest